Your First Channel
Channels are where you chat with specialists and teammates. This walkthrough covers everything you can do on the chat page — from creating a channel to mentioning specialists, inviting teammates, and switching between Everyone and Humans Only mode.
Create a Channel
Click the + button next to Channels in the sidebar. A dialog appears where you set a channel name, an optional description, and whether the channel is public or private.
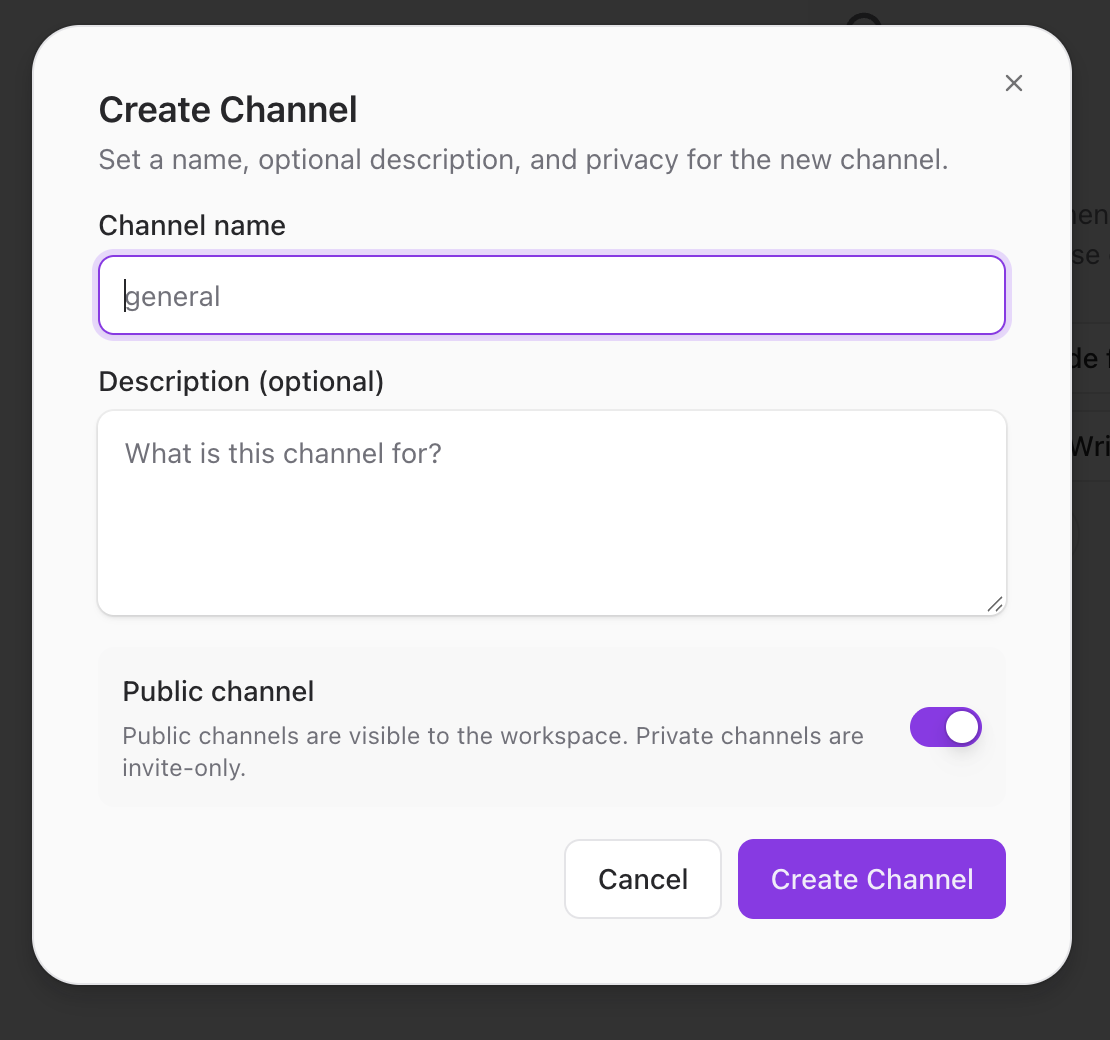
Give the channel a name that describes the topic and click Create Channel. Public channels are visible to everyone in the workspace. Private channels are invite-only. You can also leave the name empty — the channel defaults to "New Chat" and you can rename it later.
Start a Conversation
A new channel opens with a "Start a conversation" screen.
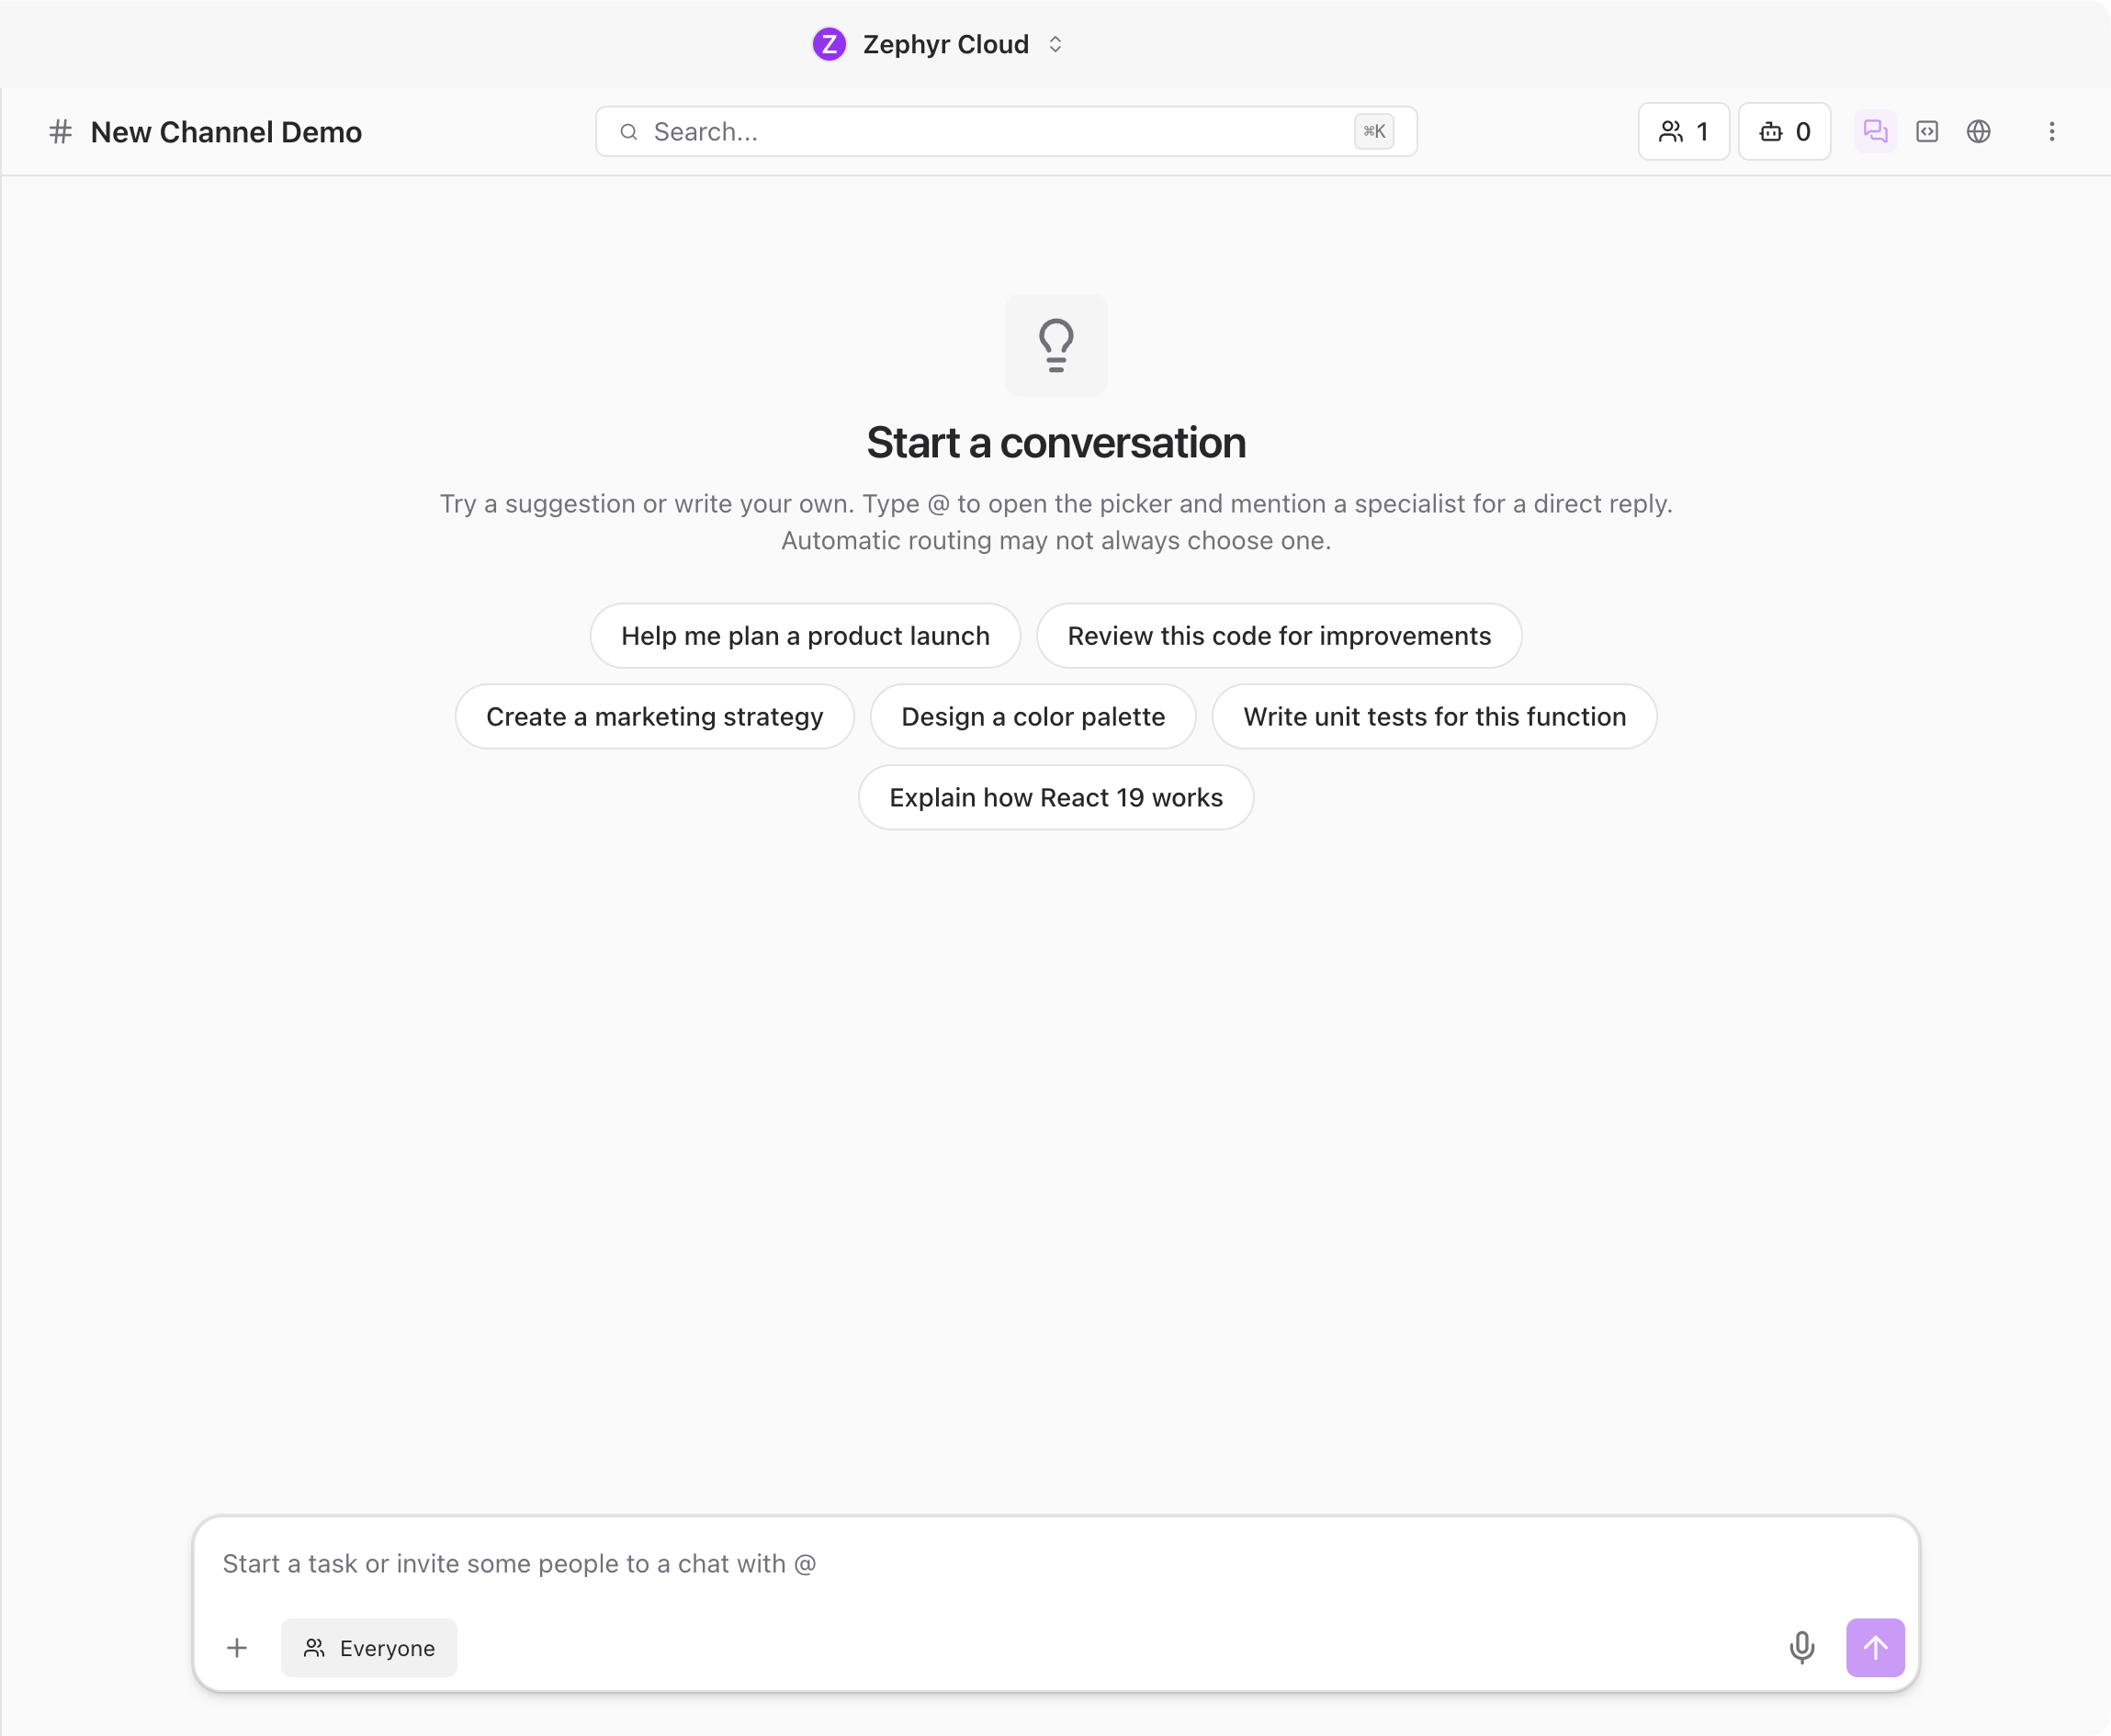
You have a few ways to get going:
- Click a suggestion prompt like "Help me plan a product launch" or "Explain how React 19 works." Each prompt sends a guided starter message to Chloe, who asks follow-up questions before producing the final output.
- Mention a specialist with @ to direct the message at a specific agent.
- Type a regular message without mentioning anyone. The platform routes it to the most appropriate specialist based on the content, though automatic routing may not always pick the one you expect.
Add People and Specialists with @
Type @ in the message input to open the mention picker. It shows the people in your workspace and lets you find specialists too.
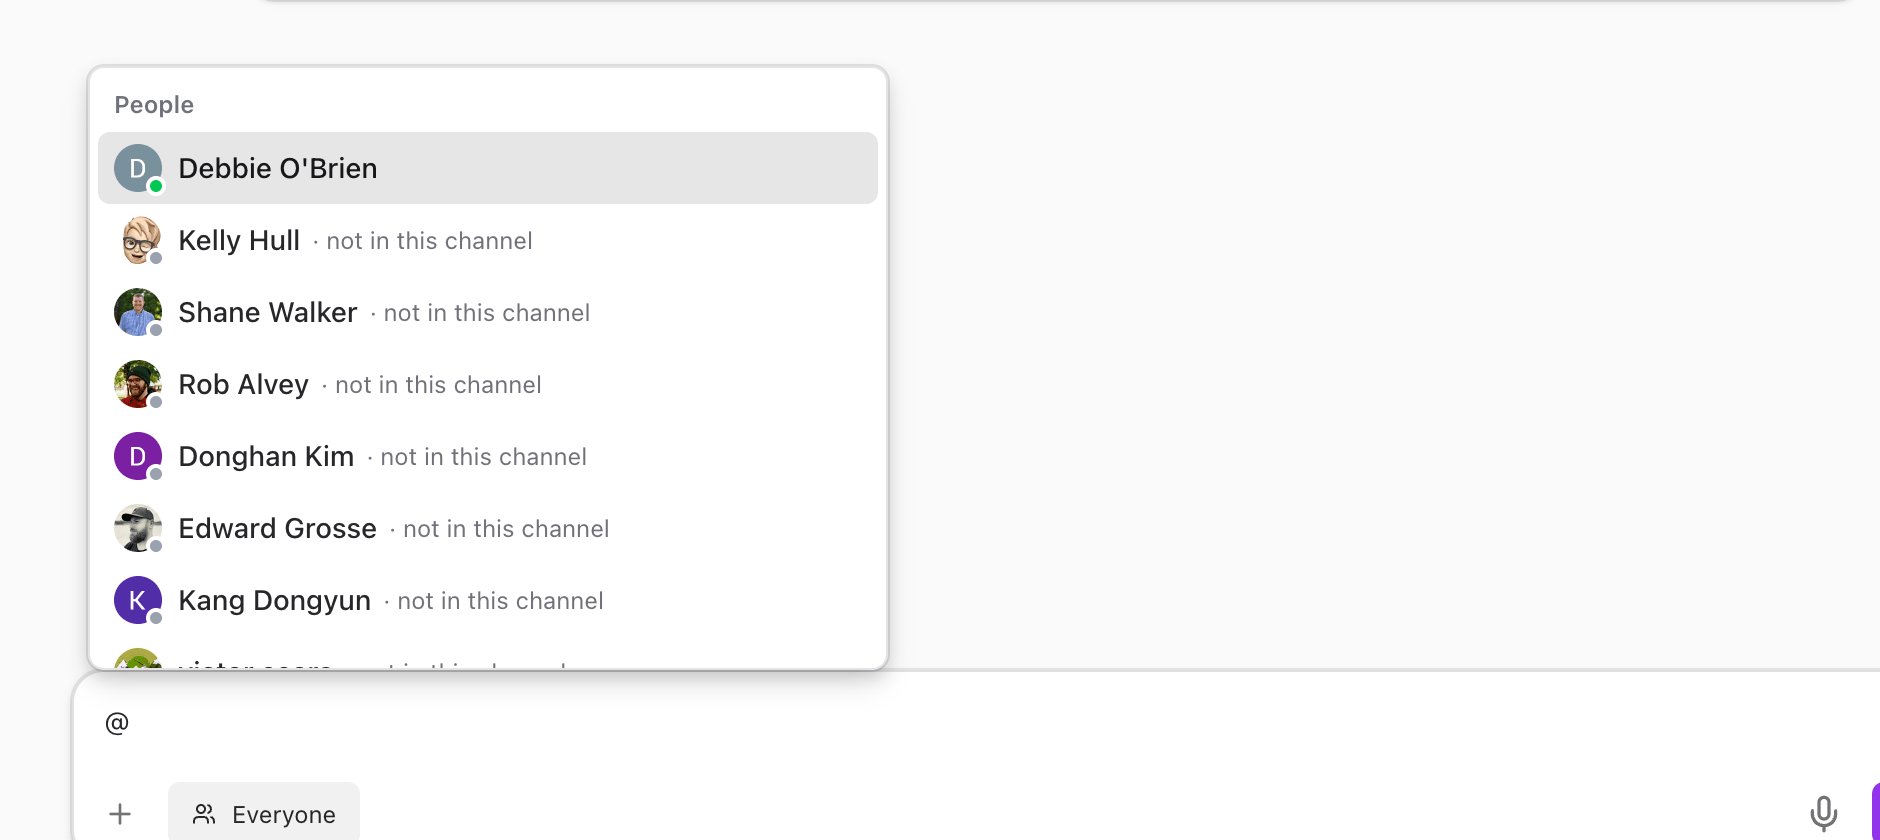
Keep typing to filter. For example, type welcome after the @ to find the Welcome Specialist for The AI Platform. The picker updates as you type and groups matches under Specialists, People, and Channels headings.
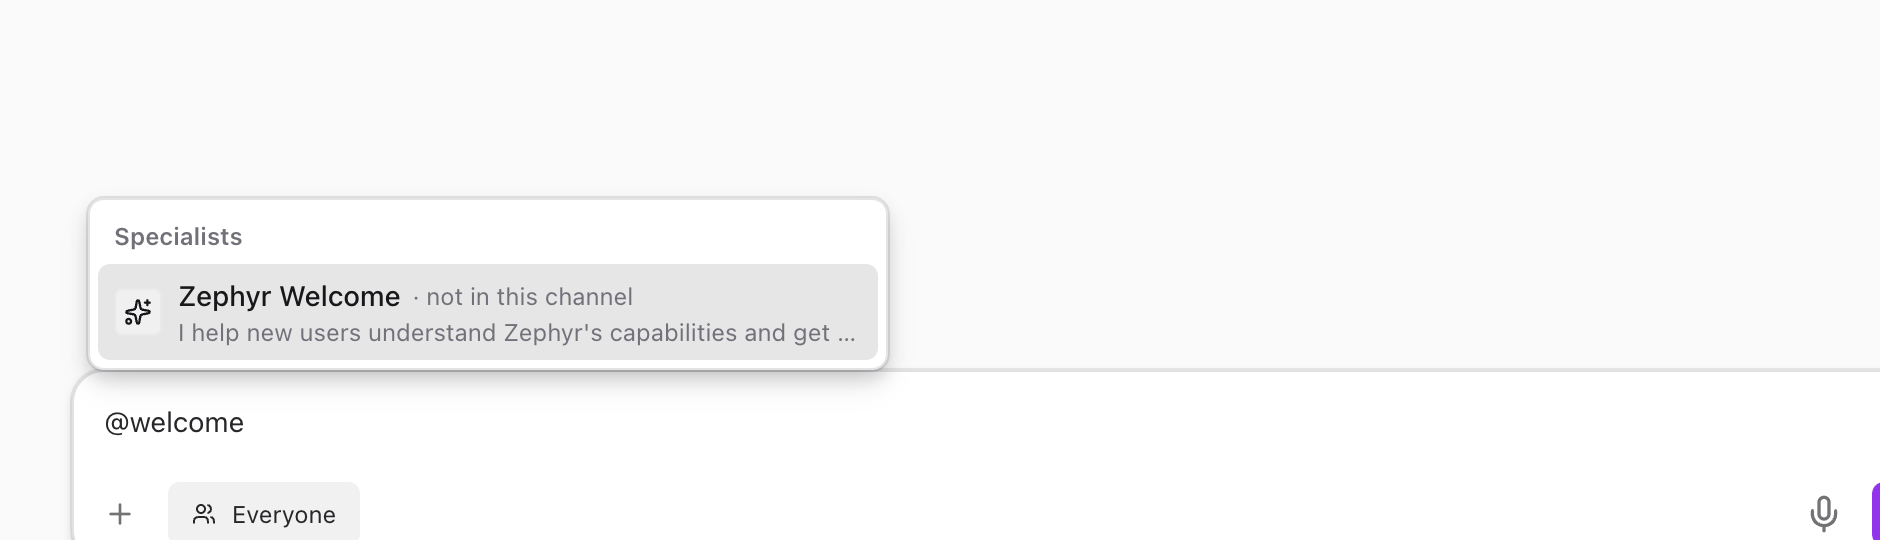
Click a result (or press Enter) to select it. The name appears as a mention chip in your message input, ready for you to add your question.
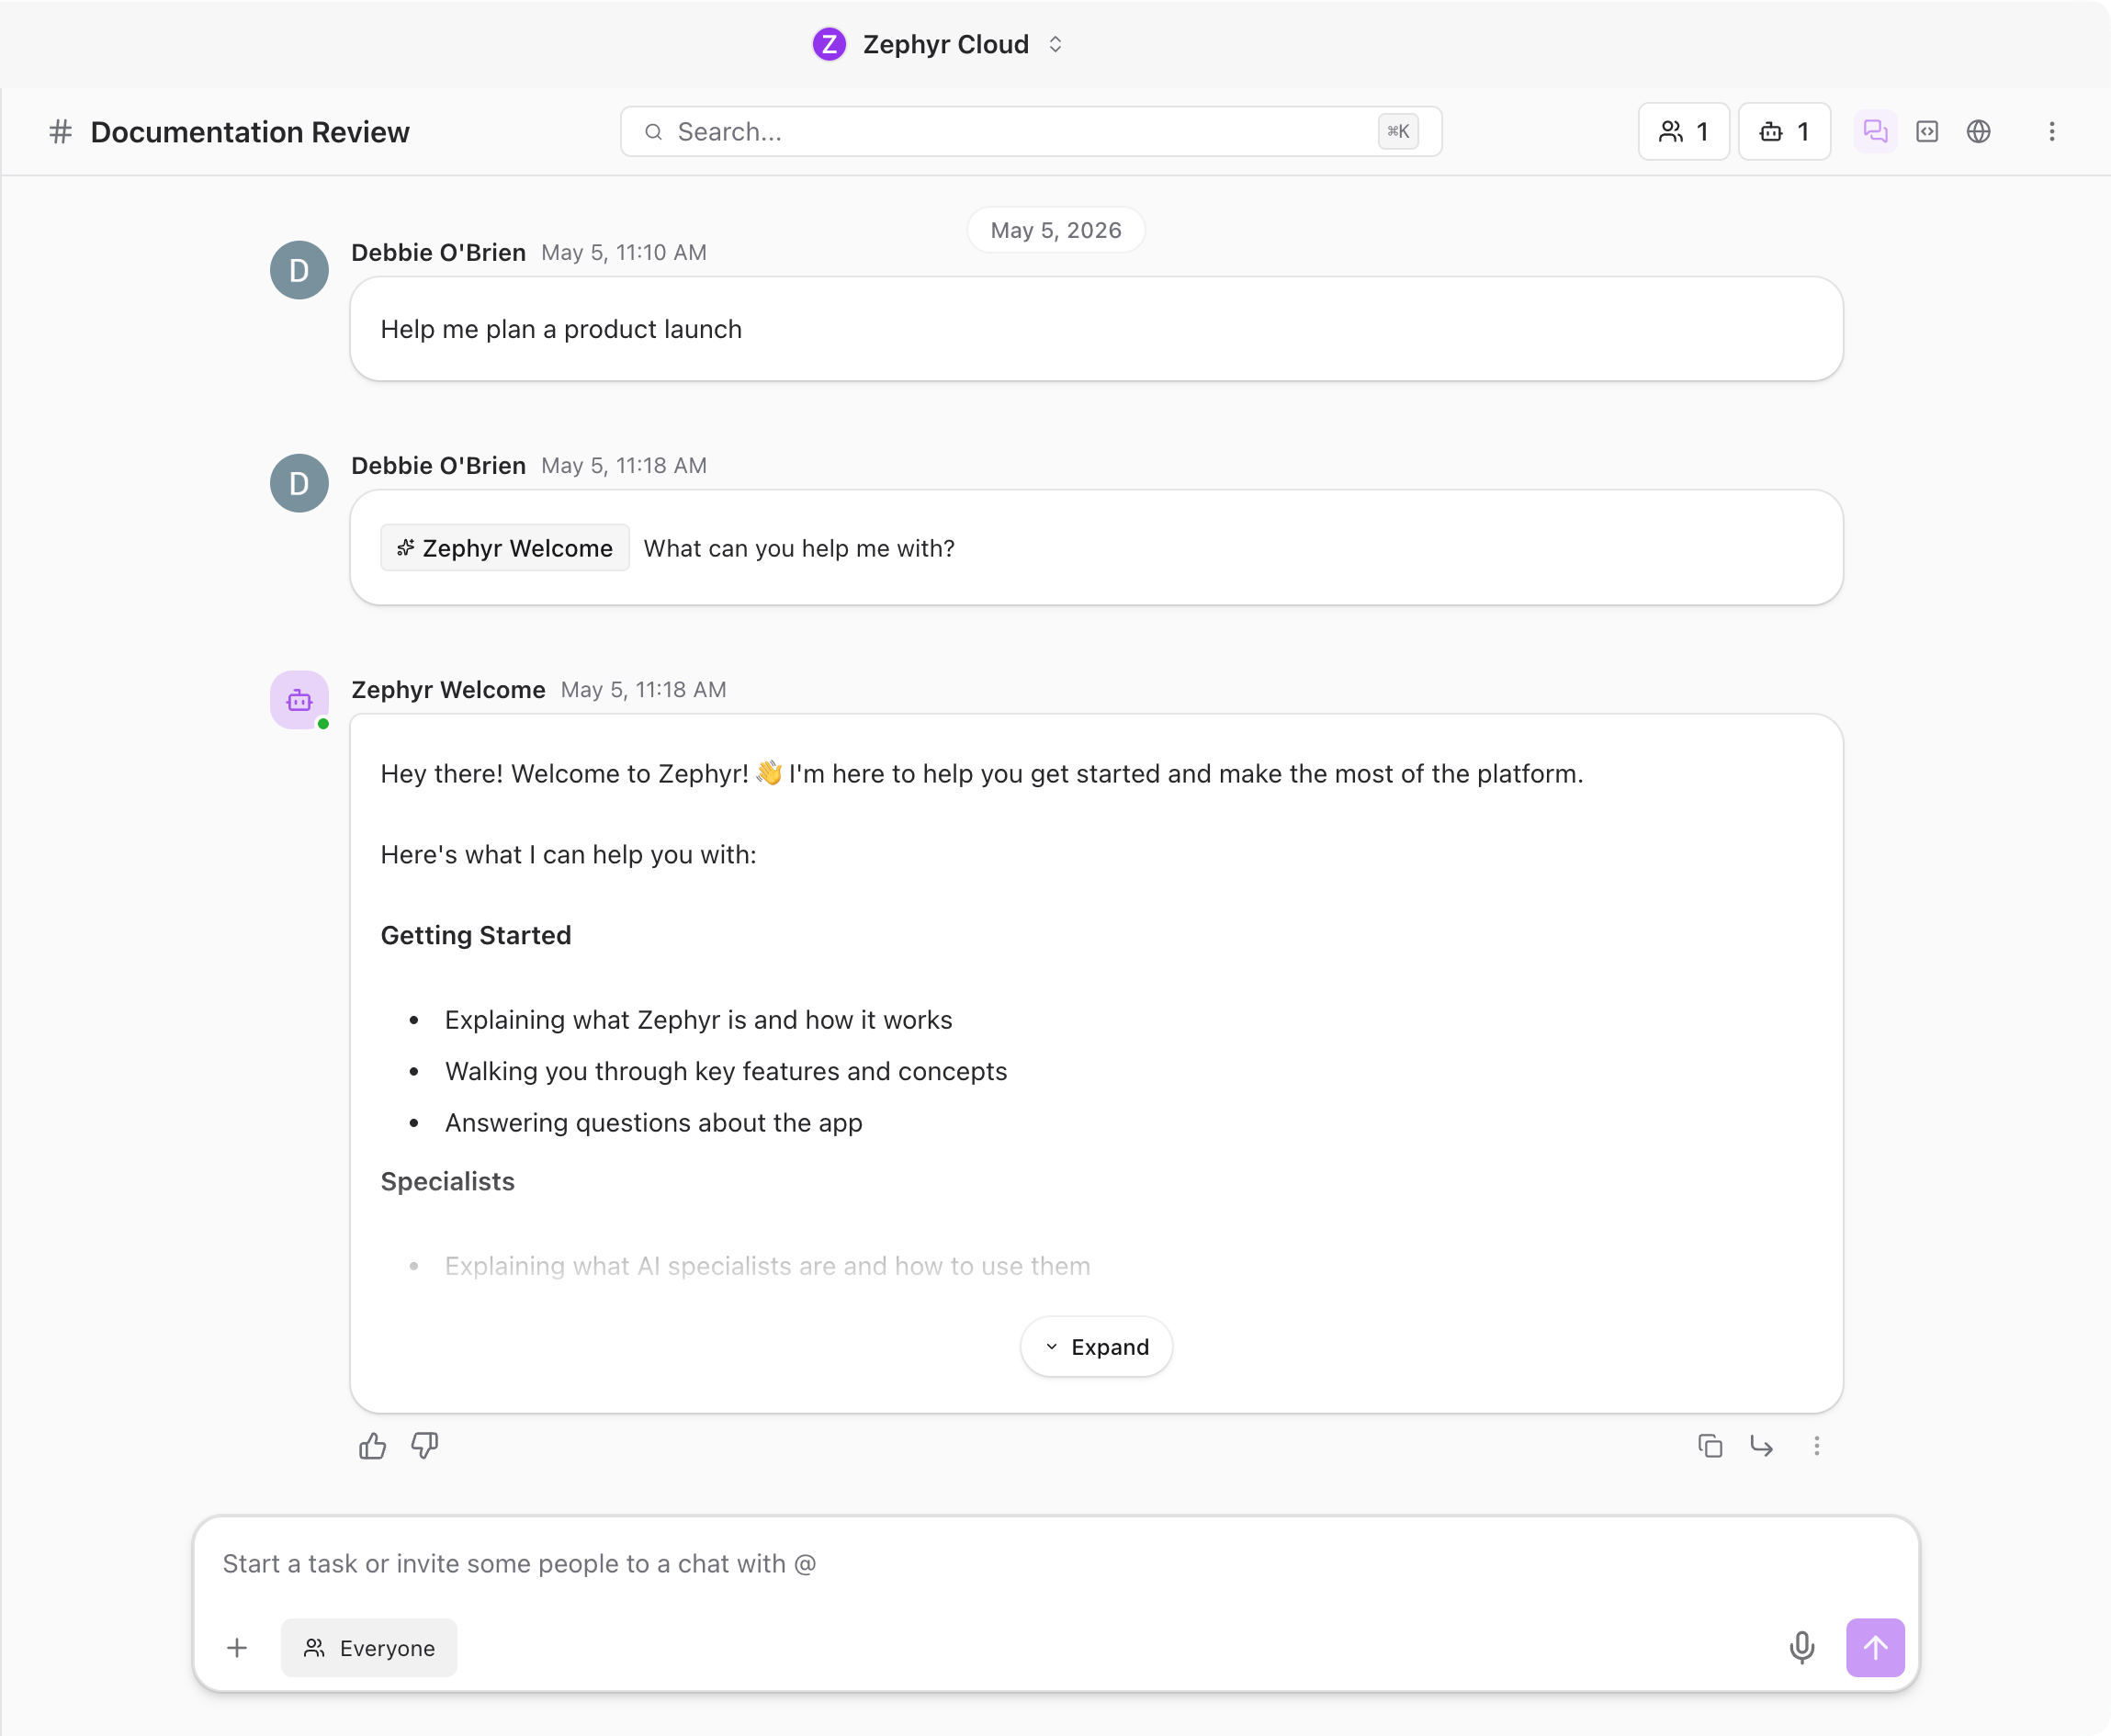
Send Your First Message
Type your question after the specialist mention. For example:
@Welcome Specialist for The AI Platform What can you help me with?
Press Enter to send.
If this is the first time you have mentioned this specialist in the channel, the app asks whether you want to add it.
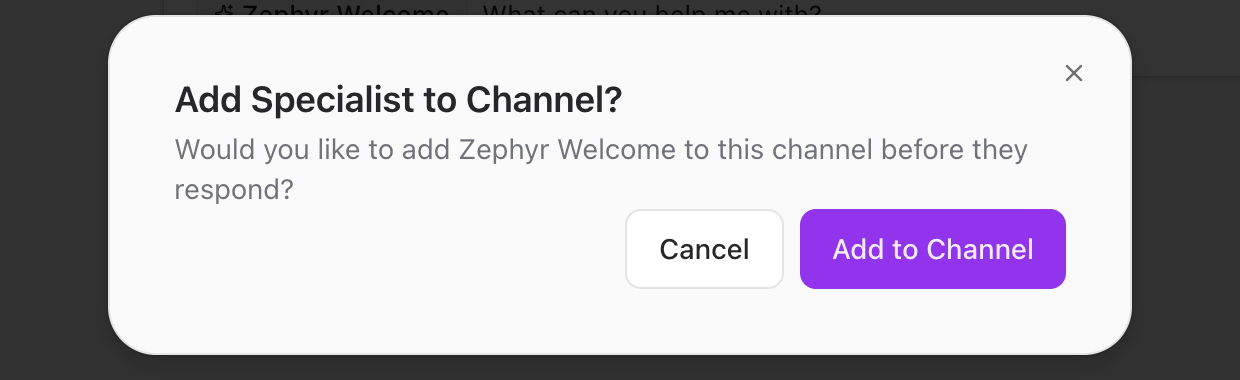
Click Add to Channel to confirm. The specialist joins the channel and starts responding. You only see this dialog once per specialist per channel.
Confirm the Specialist Joined
After you add a specialist, the specialist count in the channel header updates. A small badge appears on the robot icon showing how many specialists are now in the channel.
![]()
Click the badge to open the Members panel, which lists everyone — people and specialists — currently in the channel. From there you can also remove members or add more.
Read the Response
The specialist streams its response into the channel in real time, just like a normal chat.
Specialist messages have their own avatar and name so you can tell them apart from messages sent by people. Responses can include rich formatting with headings, bullet points, and code blocks.
If a response is long, it is automatically collapsed with an Expand button. When a specialist uses tools — like searching code, reading a file, or looking up a task — you will see a collapsible tool call section in the message. Click to expand and see exactly what the specialist did.
Customize the Response
Hover over a specialist response to reveal a toolbar with two icons and a three-dot menu. These options unlock powerful, easy-to-miss features that are scoped to the single message you are looking at.
The toolbar lets you:
- Regenerate the response. Re-run the specialist's answer if you did not like the result. Each regeneration is saved so you can flip between versions.
- Switch the provider on the fly. Pick a different model provider for this single response without changing your defaults.
- Override the model. Force this specialist to use a different model — handy for one-off tasks that need more reasoning power or speed.
- See model details and token usage. Confirm exactly which model produced the response and how many tokens it used.
Other responses in the channel keep their original settings.
Bring in Teammates
You can invite any person in your workspace into a channel by mentioning them with @ the same way you mention specialists.

Type @ followed by part of their name, pick them from the picker, and they get a notification when you send the message. If the person is not yet a channel member, they will be added when you @-mention them.
Multiple people and specialists can work in the same channel. A planning conversation might have a product manager, a designer, and a coding specialist all responding together.
Talk to People Only
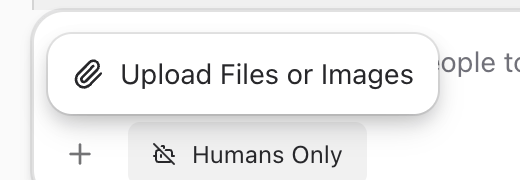
Sometimes you want to chat with your team without specialists chiming in. Click the Everyone pill in the composer to switch to Humans Only mode.

A banner appears above the input confirming that specialist responses are paused. Messages you send go to people only — specialists ignore them unless you explicitly @-mention one. Click the pill again to switch back to Everyone.
This is useful for quick team discussions, decisions that do not need an AI response, or moments when you want to think out loud with your colleagues first.
Specialists Speak Your Language
Specialists automatically reply in whatever language you write in. Type your question in Spanish, French, Japanese, or any other supported language, and the specialist responds in the same language.
You do not need to configure anything or pick a language. Switch languages mid-conversation if you need to — the specialist keeps up.
Attach Files
Click the + button at the bottom of the composer to attach files or images.
You can also paste images from your clipboard or drag files directly into the chat. Specialists can read and respond to attached files when they are part of the conversation.
Message Actions
Hover over any message and a small action bar appears in the top-right corner with quick options like reacting with an emoji and replying in a thread. Click the three-dot menu in the action bar to open the full actions menu.
The menu includes:
- Edit message to fix typos or update what you wrote.
- Copy link to share a direct link to the message with anyone in the workspace.
- Reply in thread to start a focused side conversation. See Threads for more.
- Delete message to remove it from the channel.
- Translate to translate a message into another language.
Open Links Without Leaving the App
When a specialist sends a link, or you click a URL in any message, the app shows a small "Open external link?" confirmation dialog before navigating. Confirm and the link opens in the embedded browser panel right next to your chat — no app switching, no losing your place in the conversation.
What to Explore Next
- Browse Specialists to discover more specialists from the marketplace.
- Threads for branching off a specialist response into a focused side conversation.
- Projects to connect a code repository and give specialists your codebase as context.
You can have multiple channels open in tabs across your workspace, each with different specialists and topics. Use the sidebar to switch between them.